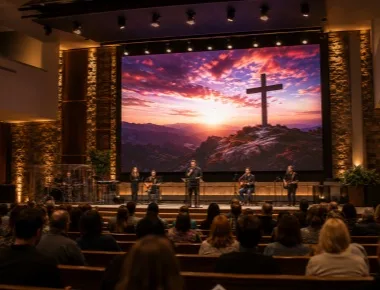
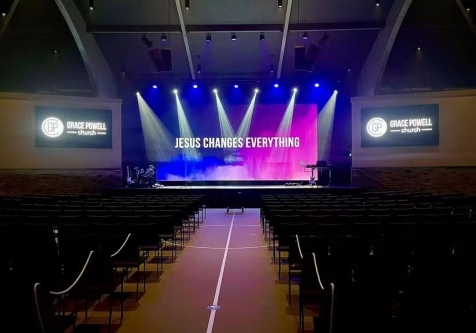
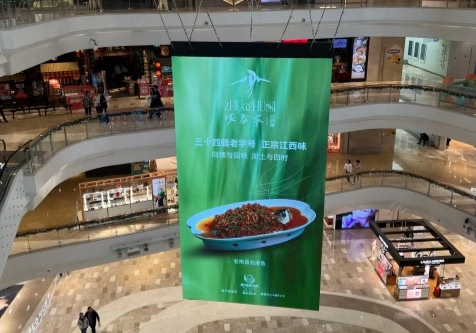
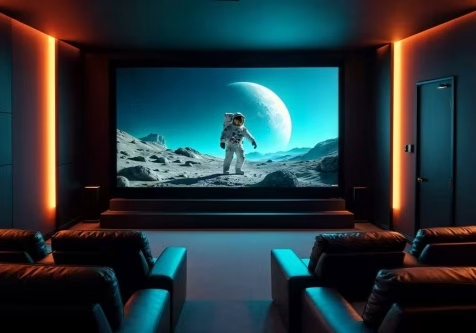
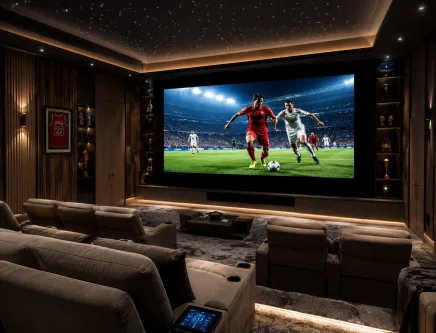
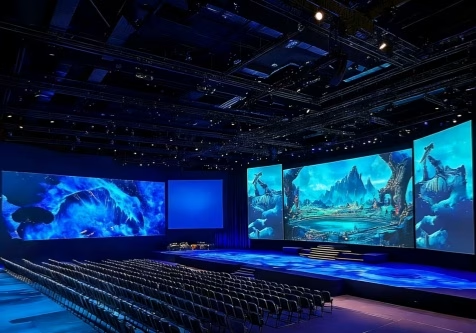
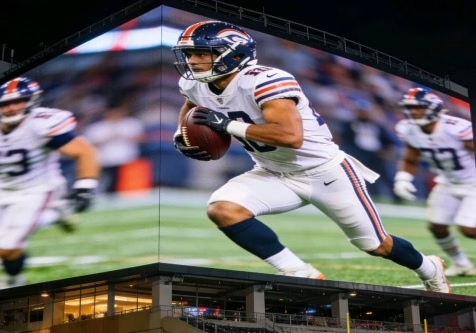
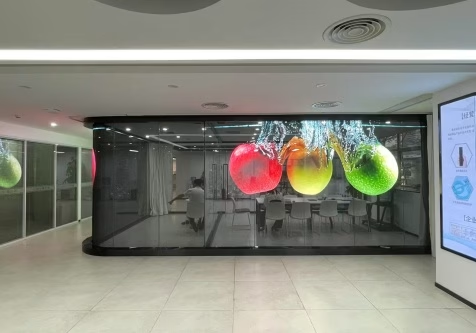
A church LED display should be selected as part of the worship and audiovisual system, not as a stand-alone wall of pixels. The right screen must make lyrics readable, support live camera images, fit the room architecture, remain serviceable, and work reliably with the church’s cameras, switcher, media server, power, and structure.
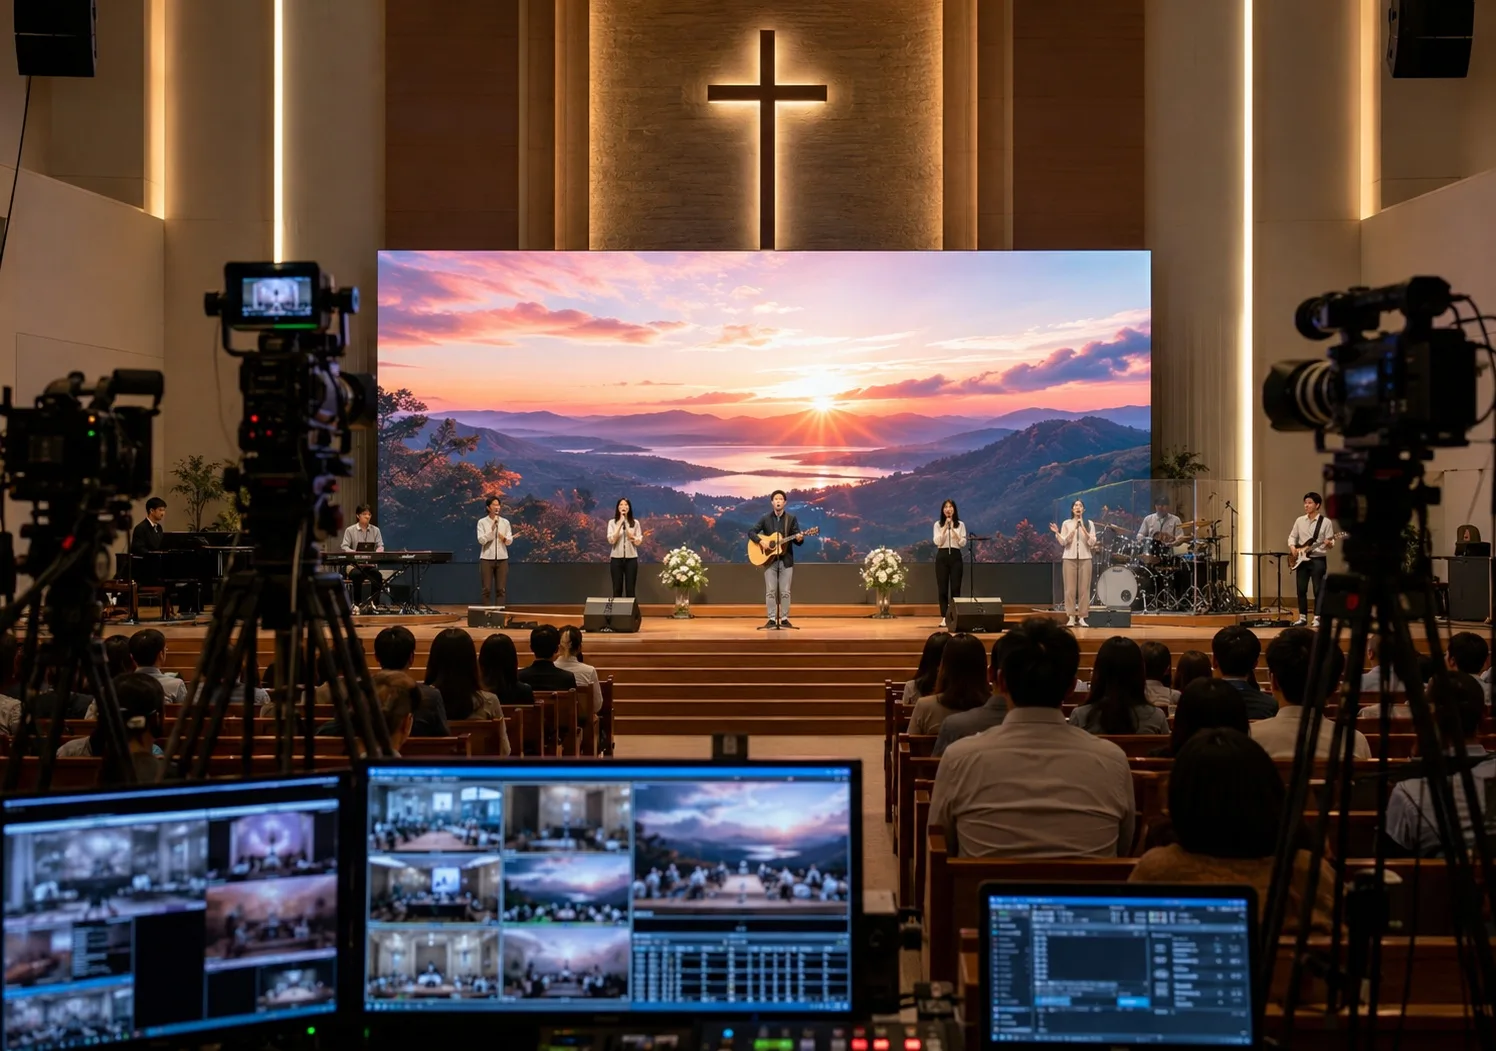
The process starts with the room and the service workflow. Review LEDU’s church LED display solutions as a planning reference, then verify the exact cabinet and control system against the site. There is no universal pixel pitch, brightness, or packaging technology for every sanctuary.
Quick answer: Define what the congregation must see, where the nearest and farthest viewers sit, how the cameras will frame the wall, and how technicians will reach it. Use the final screen dimensions and content to calculate the pixel canvas; compare LED and projection under real room lighting; test the shortlisted LED system with the intended camera; and put structure, power, service, spares, and acceptance criteria into the quote.
Start With the Worship Workflow, Not the Pixel Pitch
The same sanctuary may use its main display for several jobs, and each one stresses the system differently. List the use cases before asking for a model:
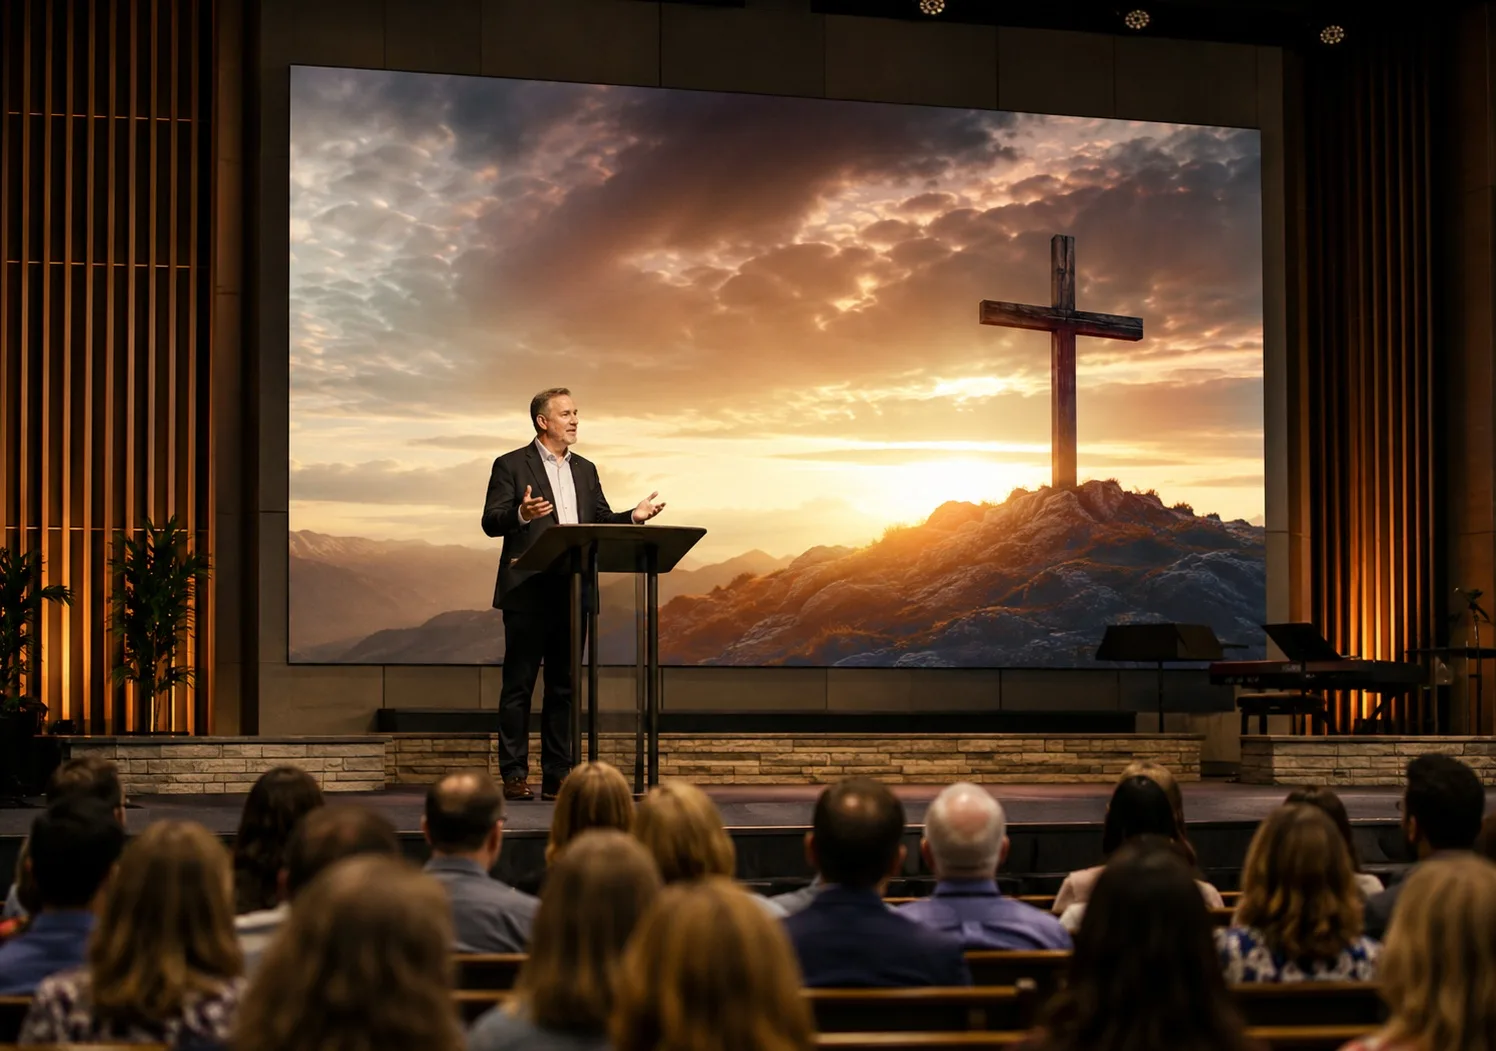
- Lyrics and scripture. Text size, line length, contrast, and sightlines matter more than showreel footage.
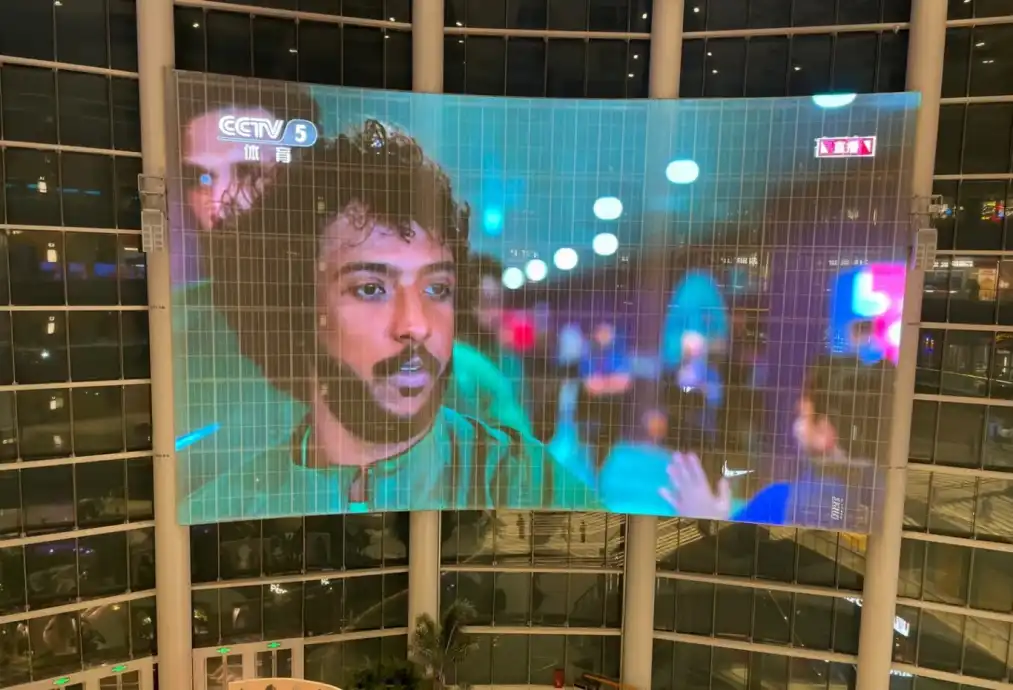
- IMAG, or image magnification. Live camera images require sufficient canvas resolution, natural skin tones, controlled latency, and clean capture.
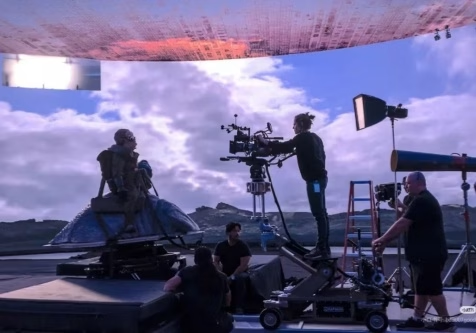
- Livestream and recording. The in-room display becomes part of the camera background, so shutter, scan, brightness, moire, and color behavior must be tested.
- Announcements and produced video. Aspect ratio, playback resolution, switching, and content-safe areas should match the ministry’s workflow.
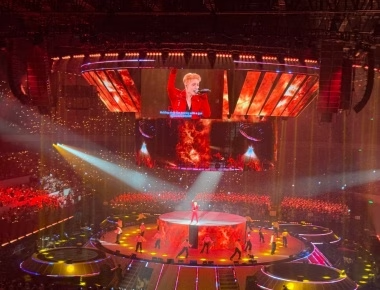
- Concerts, conferences, and community events. Rental inputs, flexible layouts, higher production levels, and faster service may become important.
LED Wall or Projector?
An LED wall is not automatically the correct replacement for projection. Compare both options in the actual room, including daylight, stage lighting, image size, mounting limitations, operating schedule, and lifecycle support.
| Decision factor |
Direct-view LED |
Projection |
| Ambient light |
Can provide strong contrast in brighter rooms when brightness is correctly specified and controlled |
Perceived contrast falls as light reaches the screen; optical design and room control are critical |
| Screen shape and size |
Modular; can support custom dimensions and very large canvases |
Efficient for standard large images when throw distance and lens geometry are available |
| Room depth |
No projection throw path, but cabinet depth, structure, and service access are needed |
Needs an appropriate projector position, lens, throw path, and protection from obstruction |
| Close viewing |
Pixel structure and module quality must be evaluated at the nearest seat |
Screen texture, focus uniformity, and image resolution must be evaluated |
| Operation and service |
Modular service, spares, calibration, and thermal/power planning |
Lamp or laser-engine maintenance, optics, filters, alignment, and access |
| Budget |
Often higher initial system and structure cost |
May have a lower initial cost for suitable rooms, depending on brightness and redundancy |
If possible, compare a sample LED module and a projector mock-up under normal worship lighting. The decision should be documented rather than based on maximum-brightness showroom footage.
Size the Image Before Choosing Pixel Pitch
1. Map the nearest and farthest viewers
Record the nearest seat, farthest seat, balcony positions, side seating, standing areas, choir sightlines, camera locations, and any columns or architecture that can block the image. Display height and elevation often affect readability more than a small change in pixel pitch.
2. Decide what must remain readable
Use representative lyrics, scripture, lower thirds, presentation slides, and live camera frames. Set a text-size standard and a safe area for every seat. Do not judge only from a colorful demo reel.
3. Calculate the actual pixel canvas
Pixel pitch is the center-to-center distance between pixels. Once the physical screen size is known, divide each dimension in millimeters by the proposed pitch. For example, a nominal 5,000 mm-wide screen at 2.5 mm pitch produces about 2,000 horizontal pixels before cabinet-size adjustments. That result can then be compared with the playback format and IMAG framing.
4. Validate the shortlist in the room
Viewing-distance formulas are useful for narrowing options, but they are not universal pass/fail rules. Test the intended content at representative brightness from the nearest, typical, and farthest viewing positions. Confirm visible pixel structure, text clarity, moire risk, module seams, viewing angle, and image height.
Treat the Camera as Part of the LED System
A specification such as 3,840 Hz can be relevant, but it does not by itself guarantee a clean livestream. Camera artifacts may also depend on the LED driver, scan ratio, PWM behavior, grayscale at low brightness, processor settings, frame rate, shutter angle or shutter speed, rolling shutter, exposure, and synchronization.
Run a real camera test with the intended or representative camera, lens, frame rate, shutter settings, switcher, and content. Test bright and dark scenes, gradients, skin tones, slow shutter changes, pans, and different dimming levels. If synchronization or advanced shutter control is required, define it with the processor and production team before the order is frozen.
Acceptance point: Record the tested camera, frame rate, shutter, LED brightness, processor settings, content, and pass/fail observations. A phone video of a showroom screen is not a broadcast acceptance test.
Select the LED Technology After the Requirements Are Clear
LEDU’s church LED display systems may use different module and cabinet platforms. Packaging is one decision, not the whole specification.
| Starting point |
Why it may fit |
What to verify |
| SMD |
Mature, flexible, and often cost-effective across many indoor pitches |
Front-face impact risk, black level, reflection, low-brightness grayscale, camera behavior, and repair method |
| GOB-protected module |
Adds a protective surface where public contact, handling, cleaning, or impact risk is higher |
Coating uniformity, reflection, seams, heat behavior, repair process, and complete-system rating |
| COB |
Strong starting point for premium fine-pitch, close-view installations with a smooth protected face |
Exact platform, contrast, calibration, camera test, spare-module matching, repair capability, power, and cost |
For close-view projects, compare the exact COB LED display and SMD LED display options under the same content, room light, brightness, and camera settings. Technology names do not replace a model-level comparison.
Eight Project Details That Belong in the Quote
1. Physical canvas and content format
Confirm active width and height, aspect ratio, cabinet matrix, total pixel resolution, playback format, and whether lyrics, IMAG, and video can share the canvas without awkward scaling.
2. Brightness and image quality
Specify the operating range under normal room lighting, not only maximum output. Review black level, grayscale, gradients, color uniformity, white balance, skin tones, reflection, and viewing angle.
3. Processor and signal path
Document sources, switcher, scaling, redundancy if required, input/output formats, cable paths, latency expectations, remote control, and who owns configuration files.
4. Structure and building coordination
Confirm wall or flown loads, attachment points, access, tolerances, seismic or other local requirements, permits, fire and egress constraints, and responsibility for engineering sign-off.
5. Power, heat, and acoustics
Use model-specific maximum and typical power to plan distribution. Confirm grounding, heat removal, ventilation, equipment-room noise, and whether fans or other components are acceptable near quiet worship spaces.
6. Service access
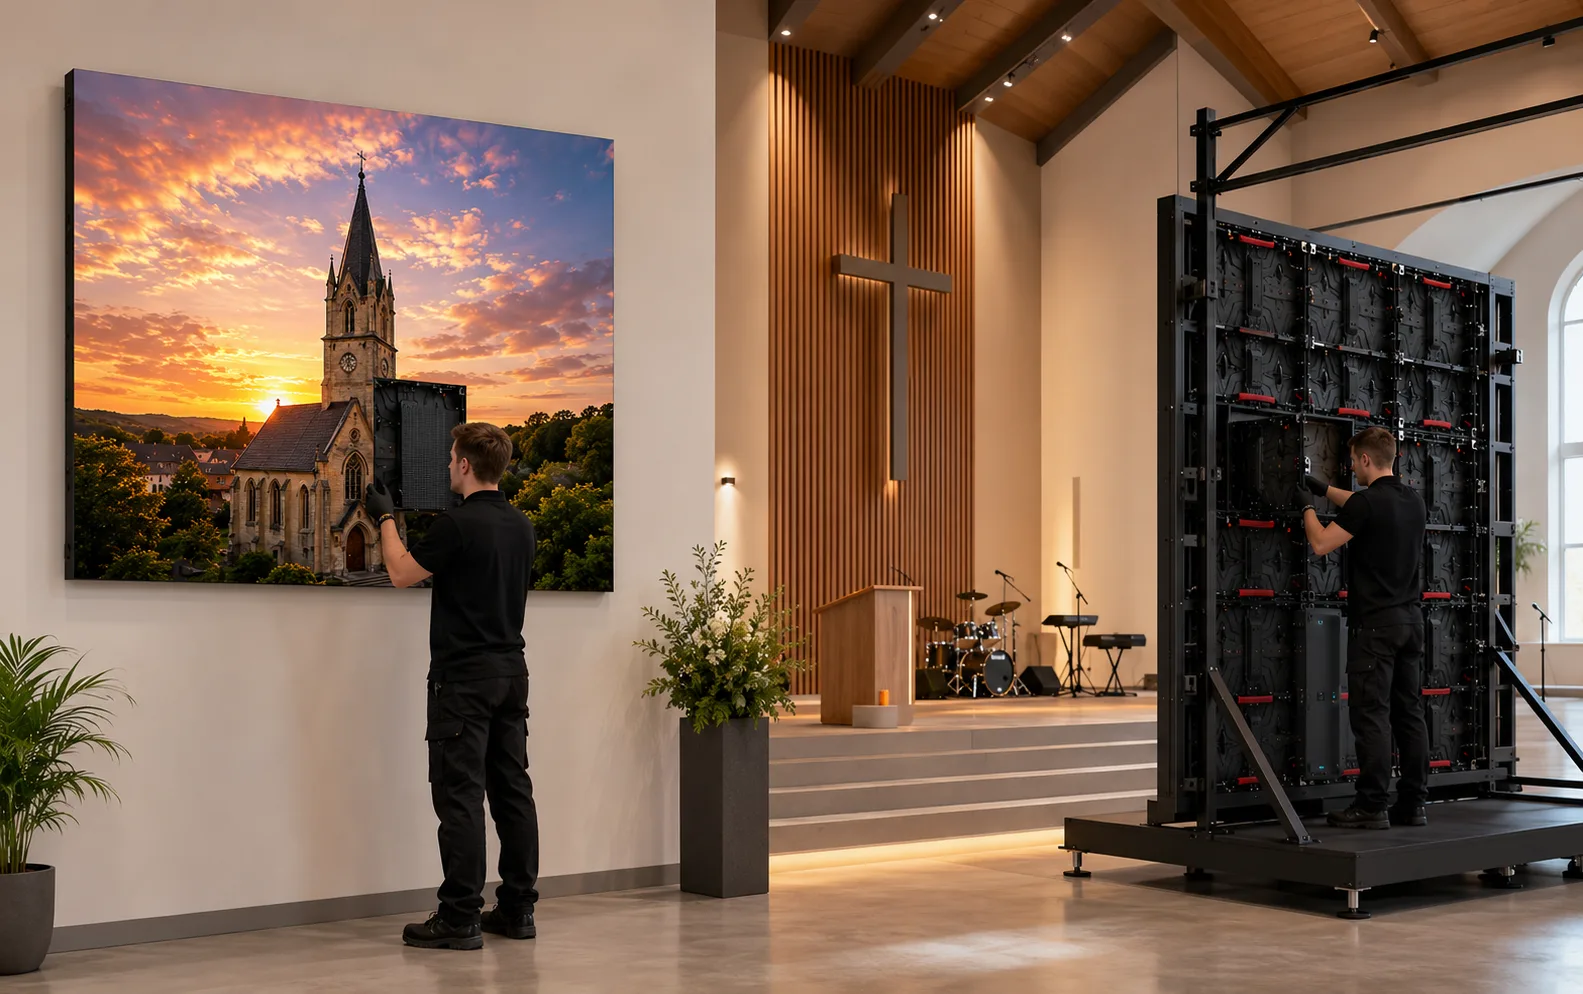
Choose front, rear, or mixed access based on the building. Confirm the removal path for modules, power supplies, receiving cards, and cables without disturbing finishes or blocking the stage.
7. Spares and future matching
Define spare modules and critical components, calibration-file handling, batch matching, storage, local repair, warranty process, and expected replacement workflow.
8. Installation and commissioning
Assign responsibility for structure, power, data, assembly, mapping, calibration, operator training, documentation, and final acceptance. A low panel price does not cover these interfaces.
Build an Acceptance Test Before Production
The acceptance plan should be agreed before manufacturing, because it defines what the church, integrator, and supplier will examine. A practical plan may include:
- Exact model, cabinet layout, pixel resolution, physical dimensions, and service direction.
- Visual inspection for dead or abnormal pixels, module seams, color and brightness uniformity, gradients, text, skin tones, and black-level behavior.
- Camera testing at agreed brightness, frame rate, shutter settings, and representative content.
- Signal switching, scaling, failover where specified, start-up, control, and saved configuration files.
- Power, grounding, thermal behavior, structure documentation, installation finish, cable labels, and safe service access.
- Spare inventory, calibration data, drawings, manuals, operator training, warranty contacts, and issue-response procedure.
Common Church LED Display Mistakes
- Choosing pitch from one distance chart. A chart cannot account for the actual screen size, lyrics, IMAG framing, sightlines, or budget.
- Buying the highest brightness. Excess output can flatten black level, increase discomfort, and make camera exposure harder; the useful operating range matters.
- Treating refresh rate as a camera guarantee. Only a representative camera test can validate the full workflow.
- Ignoring service space and finished architecture. A visually clean wall can become expensive to maintain if modules, power, data, or rear doors cannot be reached.
- Leaving content production until commissioning. The canvas resolution, aspect ratio, templates, text size, and operator workflow should be developed before launch.
- Comparing only price per square meter. Structure, control, power, installation, spares, calibration, training, and support determine the installed result.
Frequently Asked Questions
What pixel pitch is best for a church LED wall?
There is no universal pitch. Start with the active screen dimensions, nearest viewing position, required pixel canvas, lyrics and IMAG content, camera use, and budget. Shortlist available models and validate them with real content from representative seats.
Is an LED wall always better than a projector for a church?
No. LED often performs well in brighter rooms and supports modular sizes, while projection can remain practical in controlled light, standard aspect ratios, preservation-sensitive rooms, or constrained budgets. Compare both at the site.
Will a high refresh rate eliminate camera lines?
Not automatically. Refresh rate is one variable. Driver and scan behavior, PWM, brightness, grayscale, frame rate, shutter, processor settings, and synchronization can all affect the captured image. Test the intended workflow.
Should a church choose SMD, GOB, or COB?
SMD is a mature and flexible starting point; GOB may add protection where contact or handling is a concern; COB is a strong comparison for premium close-view fine pitch. The exact model, service plan, image quality, camera result, and cost decide the fit.
How should a church plan LED wall maintenance?
Confirm front or rear access, removal tools, spare modules and critical parts, calibration data, batch matching, local repair capability, warranty workflow, and safe access after the architectural finishes are complete.
What information is needed for an accurate church LED display proposal?
Provide room drawings and photos, screen size or available wall area, nearest and farthest viewers, content and IMAG use, camera system, room lighting, mounting conditions, power, service access, delivery country, schedule, and budget range.
Prepare a Church LED Display Brief
Send LEDU the room dimensions, photos or drawings, proposed screen area, nearest and farthest seats, lyrics and video workflow, camera and switcher information, ambient light, mounting concept, service access, destination, schedule, and budget range. Include a CAD file when available.
LEDU Display can use those inputs to compare suitable cabinets, pixel pitches, packaging options, control architecture, and service strategies. The resulting proposal should identify what is confirmed, what remains project-dependent, and what must be validated by sample, drawing, datasheet, or acceptance test.
Project inquiry: [email protected] | contact LEDU Display